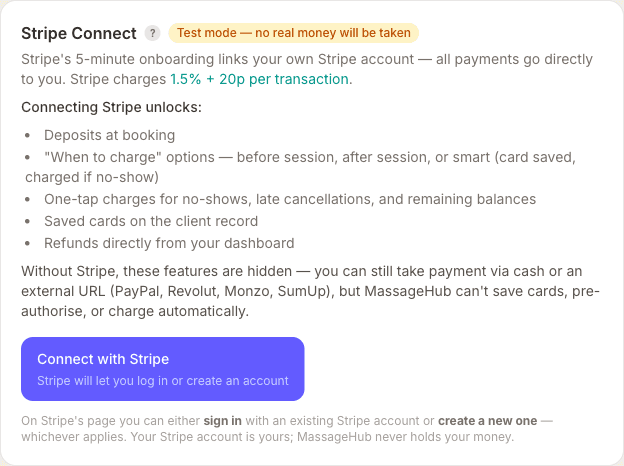
Connecting Stripe lets you save a client's card at booking and charge it after the session, or apply a no-show fee if they don't attend. All payments go directly to your Stripe account — MassageHub never touches the money, and we never take a commission. Card payments cost you nothing extra beyond Stripe's own standard transaction fee.
Before you start
You'll need a Stripe account. If you don't have one, go to stripe.com and sign up — it's free and takes about 5 minutes.
Step 1 — Enable Stripe Connect
MassageHub uses a Stripe feature called Connect to link your Stripe account. You need to activate it once before you can connect.
- Log into your Stripe dashboard at dashboard.stripe.com
- Go to Connect in the left-hand menu (or visit dashboard.stripe.com/connect)
- Click Get started and follow the short setup steps
You only need to do this once. Once Connect is enabled, come back to MassageHub.
Step 2 — Connect your account
- Go to Settings → Payments in MassageHub
- Click Connect with Stripe
- You'll be taken to a Stripe page to authorise the connection — this takes about 2 minutes
- Once complete, you'll be redirected back and the status will show Connected
Step 3 — Choose when to charge
Once connected, you can choose how payments work:
- Charge after session — card is saved at booking, you charge it manually after the appointment
- Charge at booking — full payment (or deposit) taken upfront when the client books
- Smart charging — new clients pay the full fee at booking; returning clients save their card and are charged after the session
You can also set a cancellation policy (shown to clients at booking) and charge a no-show fee from the Appointments page if a client doesn't attend.
Payment methods accepted
Clients can pay by credit or debit card. On eligible devices, a Buy with Apple Pay or Google Pay button appears at the top of the payment step — clients tap it and authenticate with Face ID or fingerprint, with no card details to type. Stripe Link also appears for returning Link users. All of this is handled automatically — no extra setup required.
Deposits, price adjustments and refunds
Once Stripe is connected, you can also:
- Collect a deposit at booking and charge the remainder after the session — see Booking deposits
- Adjust the price before charging (surcharge or discount) — see Price adjustments
- Issue refunds directly from the appointments dashboard — see Issuing refunds
Test mode vs live mode
If you set up Stripe while in test mode, no real money is taken — it's useful for testing. When you're ready to take real payments, make sure your Stripe dashboard is in live mode (toggle at the top-left of the Stripe dashboard). You'll need to go through the Connect step above again in live mode.
When will I receive my money?
Stripe holds funds briefly before paying them out to your bank account. The timing depends on how long you've been using Stripe:
- First payout — Stripe delays the very first payout by 7–14 calendar days (up to 30 days in some regions). This is a one-time risk check that cannot be bypassed.
- Ongoing payouts — After that, funds typically arrive within 2–3 business days. Weekends and bank holidays can add a day.
Payouts can get faster over time. Once you've built a payment history with Stripe (typically 60+ days of processing with a low dispute rate), you may become eligible for:
- Instant Payouts — funds arrive in under 30 minutes, 24/7, via debit card or bank account. Available in the US, UK, Canada, Singapore, Australia, and parts of the EU.
- Accelerated standard payouts — standard transfers shortened to next-business-day for established accounts in the US, Canada, and Europe.
You can see your payout schedule and history in your Stripe dashboard under Balance → Payouts.
“MassageHub's access has been removed” — what's this message?
Some therapists see a banner in Stripe (often inside the Instagram or Facebook in-app browser) saying something like “Platform MassageHub.app's access has been removed from your account… Transition your account to reset these settings.” If your payments are working in MassageHub, this is almost always a harmless leftover notice — usually from an earlier, half-finished connection attempt before your current one went through.
The one thing to avoid: don't tap “Transition account”. That button permanently disconnects you from MassageHub and resets your payout settings — you'd have to set everything up again. Simply tap the ✕ to dismiss the banner instead.
To check everything's fine, open Settings → Payments in MassageHub — if it shows Connected, you're all set and can ignore the message. If it doesn't, just click Connect with Stripe again to reconnect. Still unsure? Use the feedback button at the bottom of this page and we'll confirm it from our side.